Showing posts with label stencil. Show all posts

Saturday, April 25, 2015

Shabby little caddy Utensil silverware storage up cycle using chalk paint and the Silhouette Cameo


I am sure that I am not the only thrifter to pick an item up because it is only .50 cents.  This caddy is one of those finds.  It was in wonderful shape a little out dated and the perfect project to break out the Silhouette. 

   
Before just a plain ole wooden caddy.


I am a lazy crafter so I taped it off so that I would not have to deal with the interior.  Painted it with Jackson (black) by Southern Honey and the stencil was with Nanny White by Southern Honey.  

After a few coats of paint and stencil a buffing and distressing with sand paper.  I finished the caddy up with Johnsons Paste wax.  This is a great wax for signs and items like this.  I have used it on table tops but applied a few coats.  On the Caddy and signs that I make I simply use one coat.  


SOLD

Not to bad for a .50 cent investment.  Here's a hint...I have found that with most latex chalk base paints they are thick.  To make the brush marks melt away I spritz the surface with water then brush on paint.  It really makes a difference in the finish you get.  
Hope you have that .50 cent find just waiting for a transformation.
Sheryl


Sharing with:

Tuesday, April 29, 2014

How To: Stenciling Burlap with chalk paint , freezer paper and Silhouette Cameo

If you have been following my post lately you know that I have managed to get a stash of burlap.  You can read about the pillow project here.  Or the coffee burlap art here.
The main tools in this project are: Silhouette, computer, freezer paper, Iron, Glue gun, old canvas , Black paint or color of your choice, sharp scissors, ribbon or trim and blank burlap.

Choose a design for your signs , measure to make sure they fall on your canvas where you want.  These were 8x10 inches so my design was roughly 6 x 8 inches.  You can use the grid in the Silhouette software and if you are using a Cricut it has the same feature with their online program.  Note to Cricut users if you have not set up your cricut on line software account you may want to.  If will make projects like this so much easier.   If you decide to use a printer you can set your page size to 8x14 and get the dimensions you need.  cut your freezer paper to 8.5 x 14 to feed into the printer.  Note make sure you print on the non shiny side of the freezer paper.  This way your image will not smear because the wax will not soak up the ink and your image will not be backwards.  Cut your images out of your paper using craft knife or scissors.
Once you have your design cut out iron it onto your burlap.  The more texture your burlap has the longer you need to take to press.  I used a little 1950's GE travel iron for this Job and it was set on the lowest cotton setting no steam. 

 Iron slowly giving the wax time to adhere to the textured burlap.  Once you see that the wax paper is adhered with out gaps on the edges you are ready to stencil.  I used what ever black I had since this was hanging on the wall and not going to be washed or worn.  Note that you will need to load your stencil brush heavier than normal to get good color .  I started in the center of my cut out area and worked my way to the edges.  


When the paint dries and is no longer tacky peel off the paper. Note if you peel the paper while it is wet you risk smudging paint where you do not want it. I did not press or heat set this because it is going to hang on the wall.  
Mounting the burlap to the re cycled canvas is a tricky step simply because the burlap will stretch.  I used clamps to hold it in place after I centered it.


Glue one edge top or bottom does not matter...then glue the opposite edge pulling slightly taught.  Make sure to check the front to make sure you are not getting the design out
 of whack.  Then go side to side checking regularly.
In order to cut the bulk out of the corner I cut a flap on the top and pulled it taught and glued it to the side.


 I then mitered the corners in the back.  
I trimmed the fabric on the edges and applied ribbon to cover the raw edges.

All finished..

I hope this has inspired you!  
Sheryl

Sharing at:


Monday, March 10, 2014

Silhouette Cameo and the possibilities


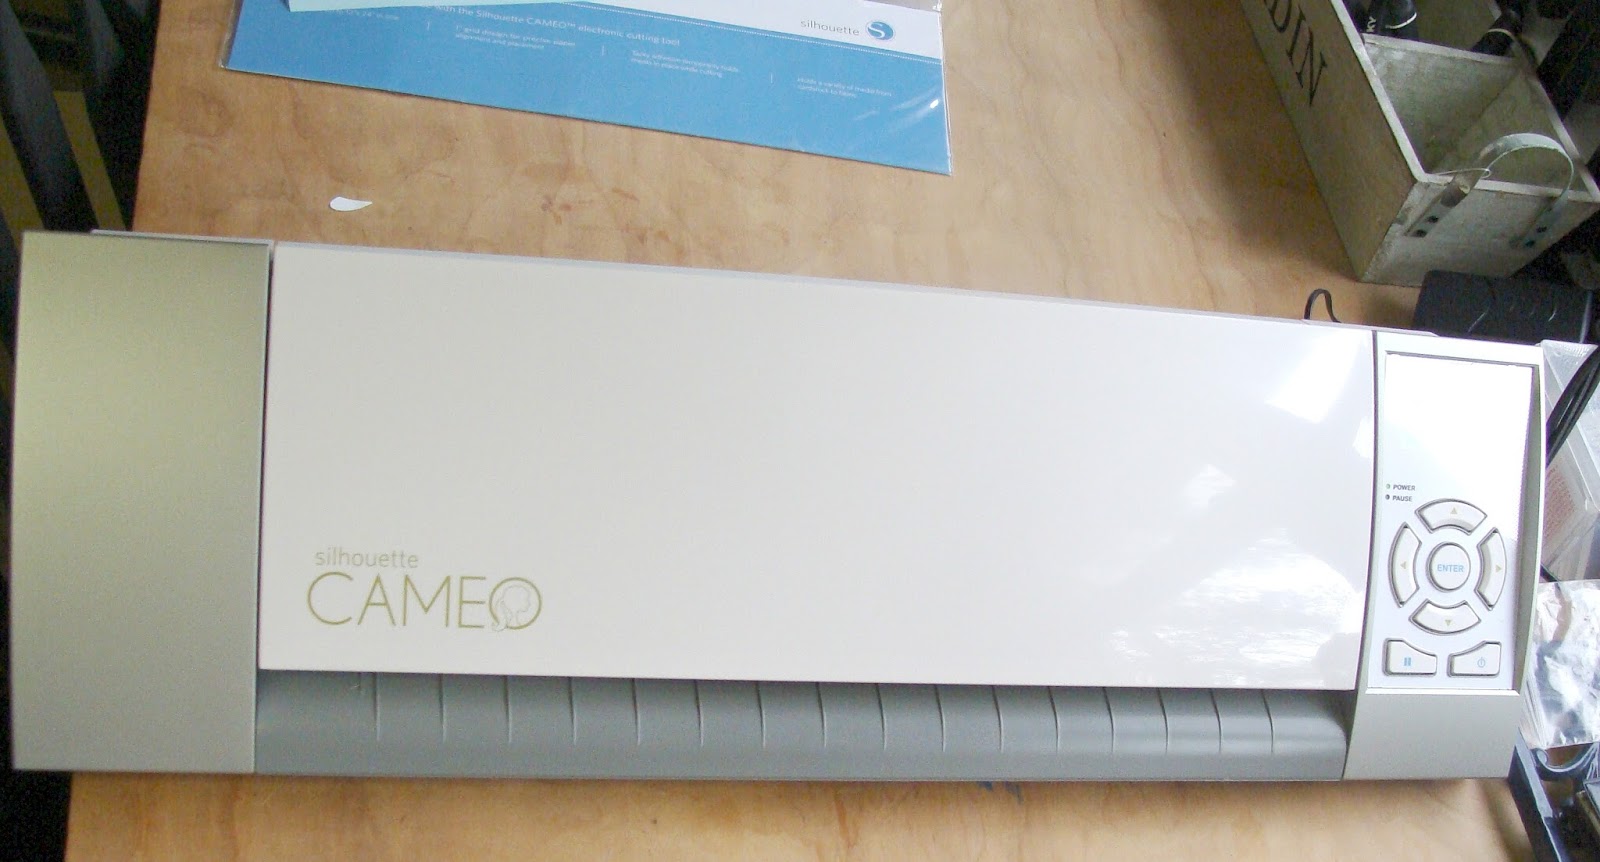
 Birthdays here are pretty special. This is the one time of the year that we really splurge.  It is just your day not Christmas were everyone is in the budget.  So I asked Handy Hubby for a Silhouette Cameo.  This post is not a paid advertisement or endorsement it is just my opinion and what I have learned along the way.  

We purchased this product from Amazon and I was very pleased with price and service.  It took a week to deliver however Amazon kept in contact with shipping and tracking information...Blaa blaa..okay lets get to the important stuff....What I have done with it!

First I did watch a lot of Youtube vids on this little power house.  


I ordered the Designer Software with it.  There were mixed opinions on what you could and could not do with out the expanded software.  I also ordered an extra 12x24 inch mat.

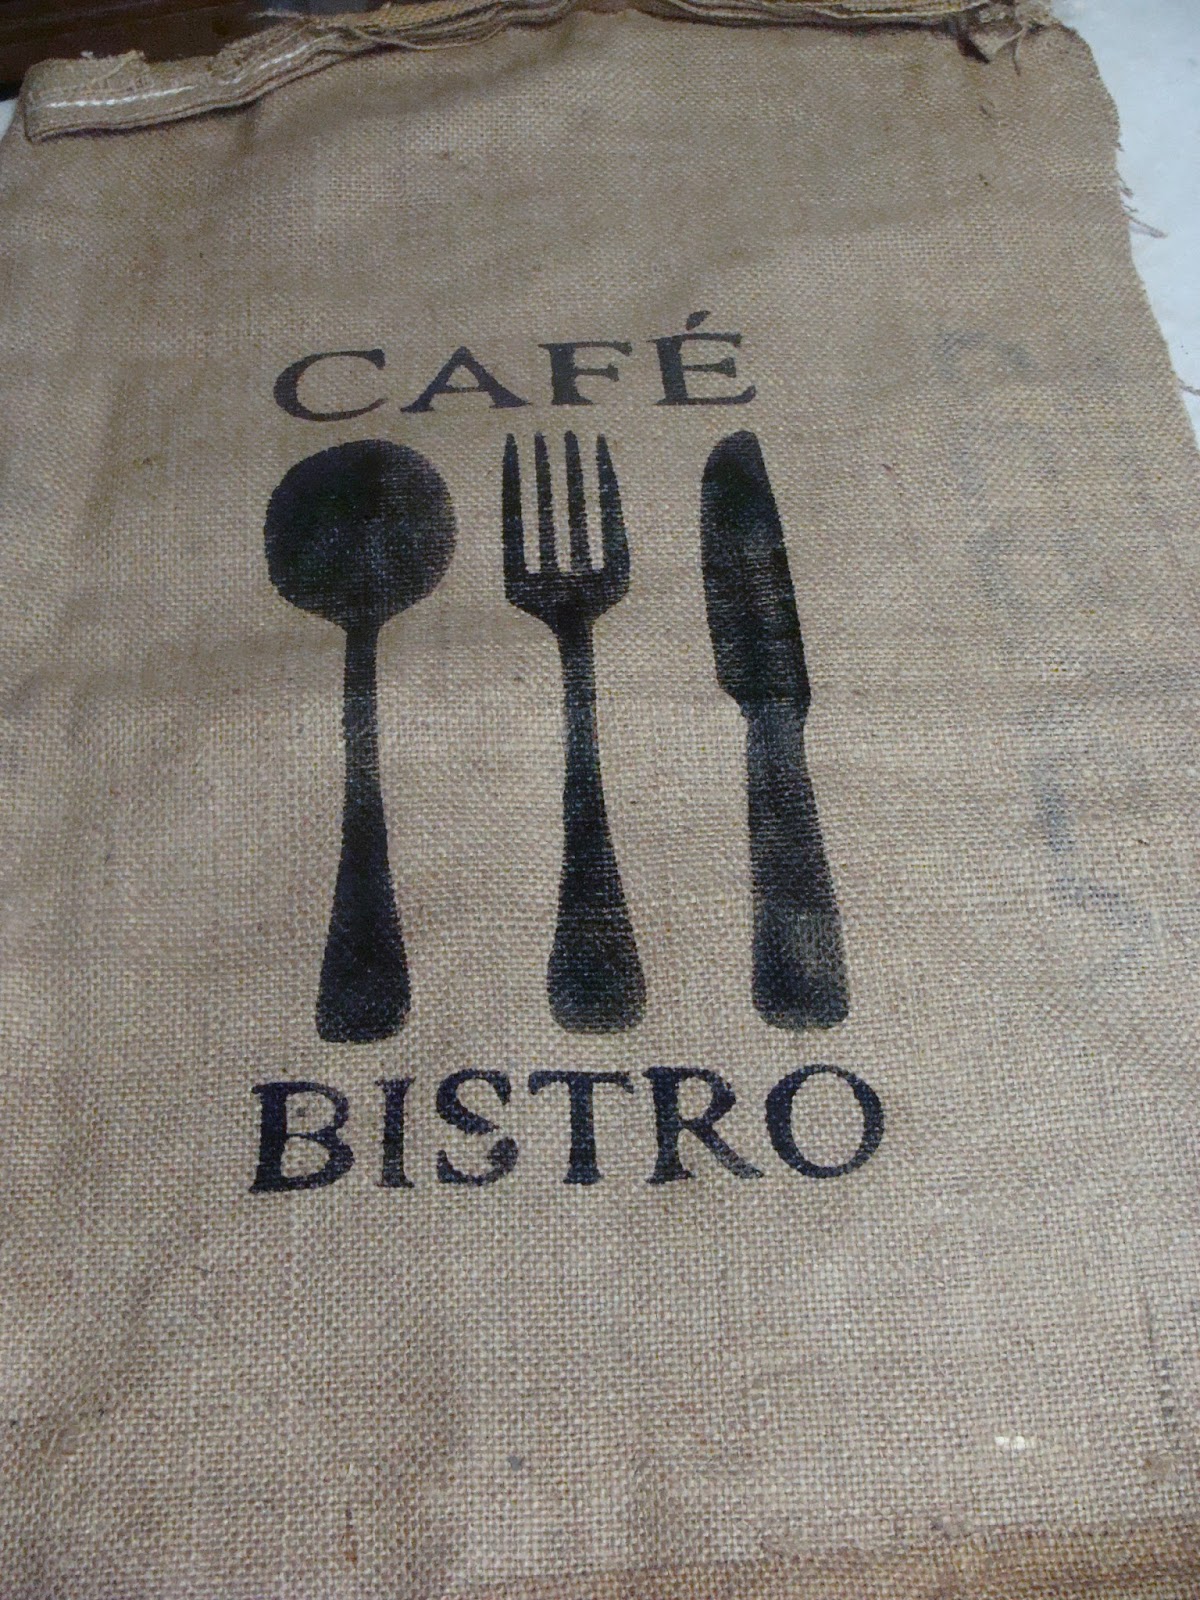
My first project was cutting an imported stencil.  I cut it from overhead projector sheets and Freezer paper.
I peeled the sheet from the mat not as hard as I thought it was going to be.  (These mats are much more user friendly then my Cricut.) Pressed the stencil on to a square of washed drop cloth with warm iron.

Then stenciled with 1 part latex reject paint and 2 parts Martha Stewart Fabric conditioner. Waited for the paint to dry then peeled away freezer paper.
Love Love the results!
I did save this project to make that matching set.

Next project.
Up cycle on a outdated cabinet door that I found at Habitat.
After removing the hardware and repairing the holes..
I sanded it down and put two coats of ASCP Cocoa ...
I used a roll of overhead projector film I purchased from Ebay.  (10.5 inches by 50 feet.) 

 I measured my door and decided what size I wanted my art work to be.  I choose a design with stencil letters and designs that would lift as one pc.  Adding the insides of the letters just does not seem like fun.  Mental Note with the silhouette you can make any font a stencil font with the knife application.
I like the roll film.  It is pliable and softer than the standard copier sheets.  Note to self be prepared to use painters tape to hold it in place or use stencil adhesive to make the Job easier and quicker.  


When I had the stencil as I wanted it I finished the pcs off with a sanding and with AS clear Wax first then some dark to antiq.

I am very Pleased with this machine.  I have a lot to learn on using the studio and I am always in search of new mediums .  If you are considering purchasing one youtube and learn learn before you buy.  You will see more projects from this toy TOOL.  

Much Love and Sunshine!
Sheryl


Sharing with....