

If you have been following my post lately you know that I have managed to get a stash of burlap. You can read about the pillow project here. Or the coffee burlap art here.
The main tools in this project are: Silhouette, computer, freezer paper, Iron, Glue gun, old canvas , Black paint or color of your choice, sharp scissors, ribbon or trim and blank burlap.

Choose a design for your signs , measure to make sure they fall on your canvas where you want. These were 8x10 inches so my design was roughly 6 x 8 inches. You can use the grid in the Silhouette software and if you are using a Cricut it has the same feature with their online program. Note to Cricut users if you have not set up your cricut on line software account you may want to. If will make projects like this so much easier. If you decide to use a printer you can set your page size to 8x14 and get the dimensions you need. cut your freezer paper to 8.5 x 14 to feed into the printer. Note make sure you print on the non shiny side of the freezer paper. This way your image will not smear because the wax will not soak up the ink and your image will not be backwards. Cut your images out of your paper using craft knife or scissors.

Once you have your design cut out iron it onto your burlap. The more texture your burlap has the longer you need to take to press. I used a little 1950's GE travel iron for this Job and it was set on the lowest cotton setting no steam.

Iron slowly giving the wax time to adhere to the textured burlap. Once you see that the wax paper is adhered with out gaps on the edges you are ready to stencil. I used what ever black I had since this was hanging on the wall and not going to be washed or worn. Note that you will need to load your stencil brush heavier than normal to get good color . I started in the center of my cut out area and worked my way to the edges.

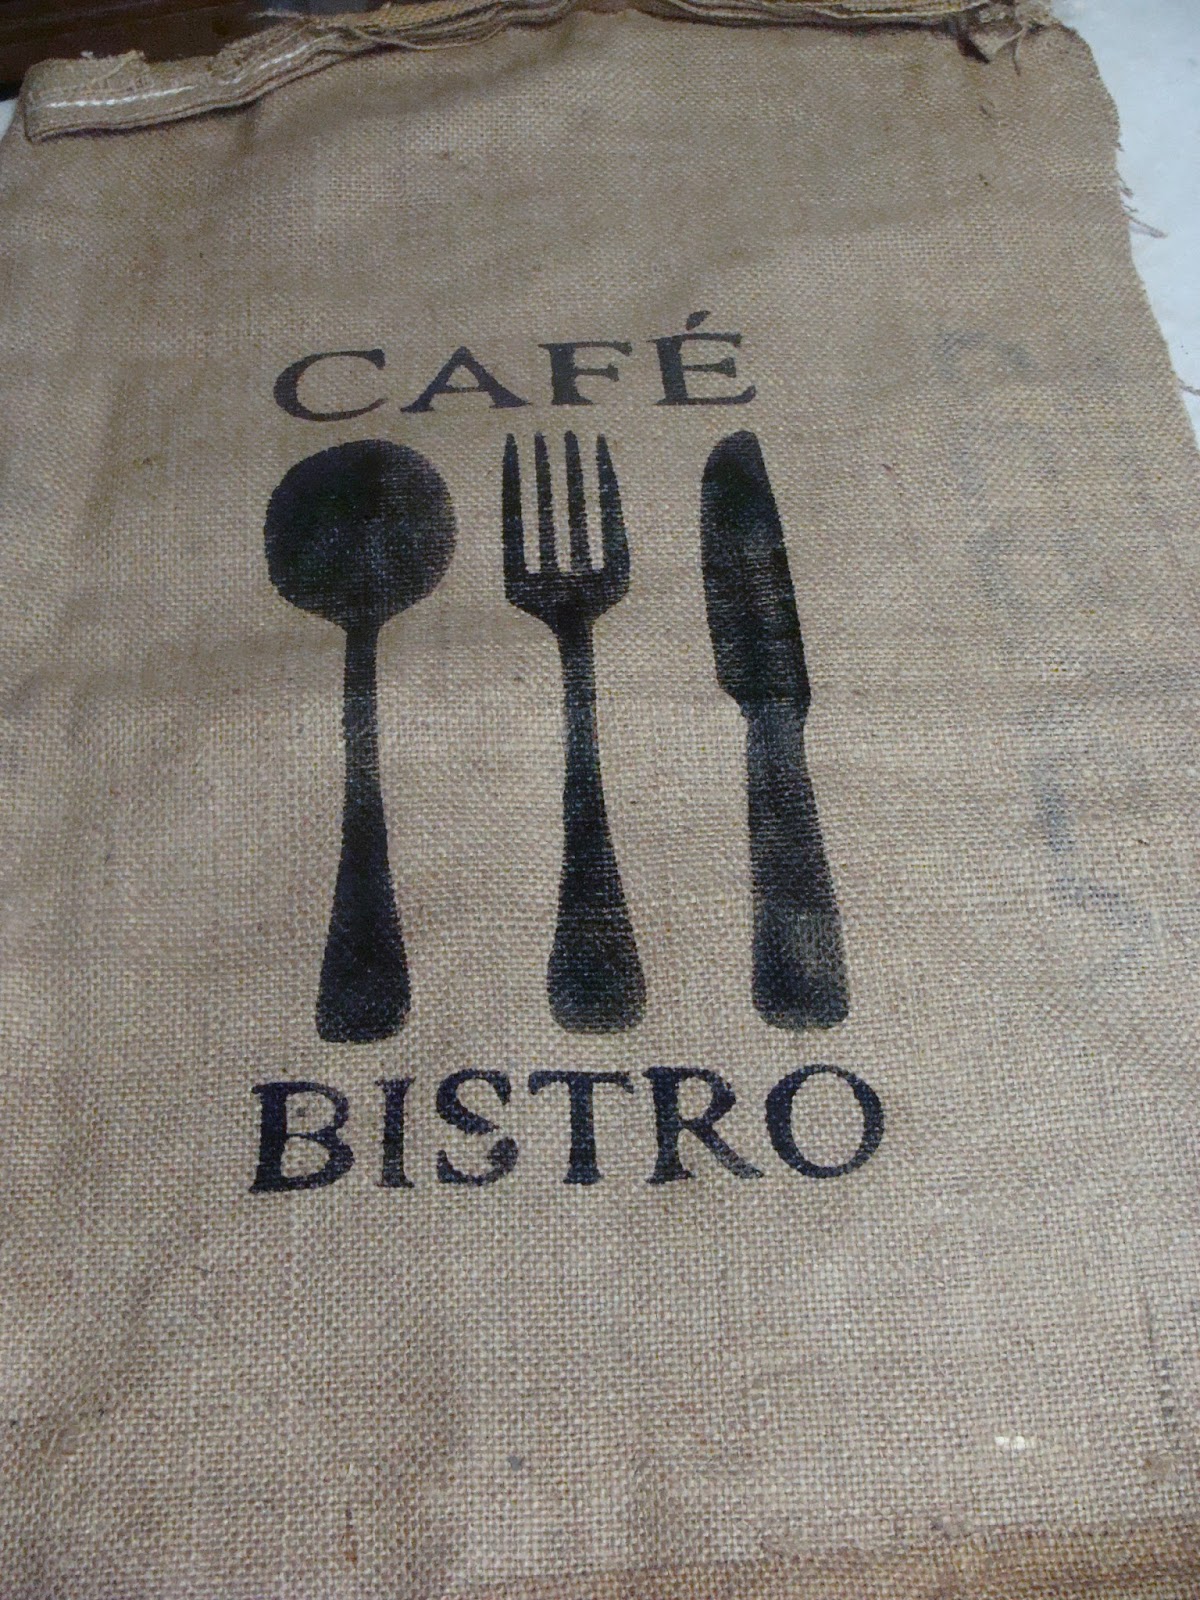
When the paint dries and is no longer tacky peel off the paper. Note if you peel the paper while it is wet you risk smudging paint where you do not want it. I did not press or heat set this because it is going to hang on the wall.
Mounting the burlap to the re cycled canvas is a tricky step simply because the burlap will stretch. I used clamps to hold it in place after I centered it.


Glue one edge top or bottom does not matter...then glue the opposite edge pulling slightly taught. Make sure to check the front to make sure you are not getting the design out
of whack. Then go side to side checking regularly.
In order to cut the bulk out of the corner I cut a flap on the top and pulled it taught and glued it to the side.


I trimmed the fabric on the edges and applied ribbon to cover the raw edges.


All finished..

I hope this has inspired you!
Sheryl
Sharing at: