Showing posts with label farmhouse christmas. Show all posts

Sunday, November 12, 2017

Aging and stenciling metal buckets for holiday decor

I challenged myself to stock my very small 8 x 5 booth with Daily and holiday decor that is more than 50% recycled.  In other words no money to little money will go in to materials.
This is Idea 7:

Aging and stenciling metal buckets...

This project has a little more investment in it....but the learning curve and the results are well worth it!


I have been intrigued with the process of Aging metal. I am most intrigued with the concept of Aging metal with household items.  With this project I took new buckets I purchased from Tractor Supply and Lysol toilet bowl cleaner and aged them to look like they had been sitting on the farm for years. The process is very simple. You will need a few simple supplies I found buckets at Tractor Supply and they were a three-pack of Steel buckets for $12.99. I also purchased a container of Lysol power toilet bowl cleaner I think it roughly cost me about 3 bucks. With this project I also had gloves, a mask, an old paintbrush and goggles or safety glasses  to protect your eyes.  ( Lysol is acid).  Do this out side in a well ventilated area.!


I brushed on the lysol with a large brush.  It is thick and really adhered to the side of the bucket.  I also brushed the interior.  I let the lysol sit for about and hour and a half then reapplied a light coat over the old coat,  and let it set another hour and a half.  when I felt (or saw ) that the process had been long enough I rinsed the buckets really well rubbing them with a rag to remove the lysol and stop the process, then air dried.  There was a white residue on the buckets and some you wanted but you did not want so much that it came off on your hands when you handled it.  A nylon scrubber removed the loose bits then I wiped the bucket down with a damp cloth and let air dry again..


Where the lysol ran down the sides of the bucket in the inside, it pooled.  Where the lysol pooled it really ate off the top coat till rust started to form......


Not quiet the effect I wanted...however was able to fix it with a little spray metallic paint...just hit or miss you do not want full coverage just want to hide, not make look new.....


Now that the bucket is aged and the inside has been addressed time to stencil.

I chose three Christmas themes and the Feed bucket is my favorite!


The first challenge was to stencil on a curved surface using projector sheets.  


Using A cameo Silhouette I found the clip art and created the text designs for the buckets and cut them out of overhead projector sheets, Making stencils that can be reused.  


I had to cut down the 8x11 inch sheet to fit the side of the bucket....


A few mental notes....Center your design on the bucket before you cut it and crease the sheet at the top and bottom edges so that you have a idea of where to cut...


When you cut make sure you cut your edges in a slight arch ...that way you can move the stencil a little more freely to get it positioned where you want it.  If you have difficulty eyeballing then you will need a ruler to measure your distances from top and bottom....

Once you get the stencil positioned you are ready to add paint...

The paint I chose is Waverly chalk paint in crimson.  You can find it at Walmart or order it on line.  I order on line because it is cheaper and I will be ordering enough to get free shipping.  And life is really good when chalk paint arrives at your door step!


 I like to use make up sponges to stencil on metal and painted surfaces with.  They do not hold a lot of paint and do not leave stipple marks....I also had some brown paper to protect my table with, q tips to clean mistakes with , container to hold paint and paper towel to dab on.

Waverly paint is thick luscious paint designed for coverage, I did not water it down.  It being a little thick made it hard to seep under the stencil.

Same rules apply to technique pounce gently up and down making sure not to rub against your stencil edges.  ...and hit somewhere you do not want paint...Hence the Q tip on stand by....


A damp Q tip rubbed this mistake off....


You will need to seal your chalk paint.  If you use paint that does not need to be sealed like craft paint then you are good to go from here.  I used some paste wax with wavery white wax mixed in....sealed the whole bucket with a oxidized look.  


I did not sand the design because I did not want to mess up the aging on the bucket....


These would make some great gift buckets....or would hold a little rosemary tree or fake fir...well you get the idea....
These will be available at Vintage Collections Down town Camden next week....

Hoping your are excited about the Holidays.
Sheryl

Sharing with:

Wednesday, October 1, 2014

Farm House Christmas Charm for the Birds chicken feeder wreath..and a short Tribute to the Bird Dog.


I have had these rabbit or chicken feeders lying around for a year just waiting for the inspiration to strike.  I had chalk paint and love the look of it on galvanized metal.  So a can of chalk paint


 and some of 
this,

A hot glue gun and some floral foam and a bag of decorative Spanish moss was also thrown in.
And you have some Farm House Christmas charm.  The chalk window is versatile, you can put your house number on it or last name to make it personal.  

I think the old ruler sections add just that Funky Flare as well as a aged warmth.


The sky is the limit hope you found some inspiration for the next time you are rummaging around in the "barn".

And as a last note I want to pay tribute to the best dang dog I have ever owned.
BEAU
Even when he begged to bring his Easter Bone in and even cleaned the storm door with it.

Beauregard Grande De' Bonze
(as stated on his papers)

He was neglected and in pretty bad shape when we took him in. I think you call that a rescue dog and he was a rescue dog ...He rescued us.  His unconditional love was astounding .  I had never had a dog that was as in touch with each family member as he was.  Many a day was spent with the kids in school and Hubby working, and Beau my only company. 
 The last one I said goodnight too.
The view on the end of my recliner most nights..

And the first one to greet me in the morning.
He will be missed and it was a hard decision to have him put down.  He had a tumor in his sinus cavity and removing may have taken his life.  So we loved loved him until he let me know it was time.
So:
Good Night Old Man I will see you again when I get home.  
Readers I  hope you have been blessed with the love of a good dog it is something you will carry with you even when they are gone.  

Sheryl

Sharing with:


http://sewmanyways.blogspot.com/2014/10/sew-darn-crafty-linky-partyoctober-theme.html


http://www.dwellings-theheartofyourhome.com/2014/10/amaze-me-monday-80.html

http://distresseddonnadownhome.blogspot.com/2014/10/make-it-monday-6_68.html

http://www.craftyspices.com/hops/wwhop/816-wwhop114

http://cupcakesandcrinoline.com/2014/10/13/project-inspired-link-party-week-88/

http://knickoftime.net/2014/10/vintage-inspiration-party-162.html

http://www.seasonedhomemaker.com/2014/10/project-parade-15.html

http://jannolson.blogspot.com/2014/10/share-your-cup-thursday-123.html

http://www.thededicatedhouse.com/2014/10/make-it-pretty-monday-week-117.html

http://bacontimewiththehungryhypo.blogspot.com/2014/10/anything-goes-linky-177-coupon-code-and.html

http://thecottagemarket.com/2014/10/diy-projects.html

http://bellarosaantiques.blogspot.com/

http://liverandomlysimple.com/totally-terrific-tuesday-link-party-5/


http://knickoftime.net/2015/08/farmhouse-friday.html

Tuesday, April 29, 2014

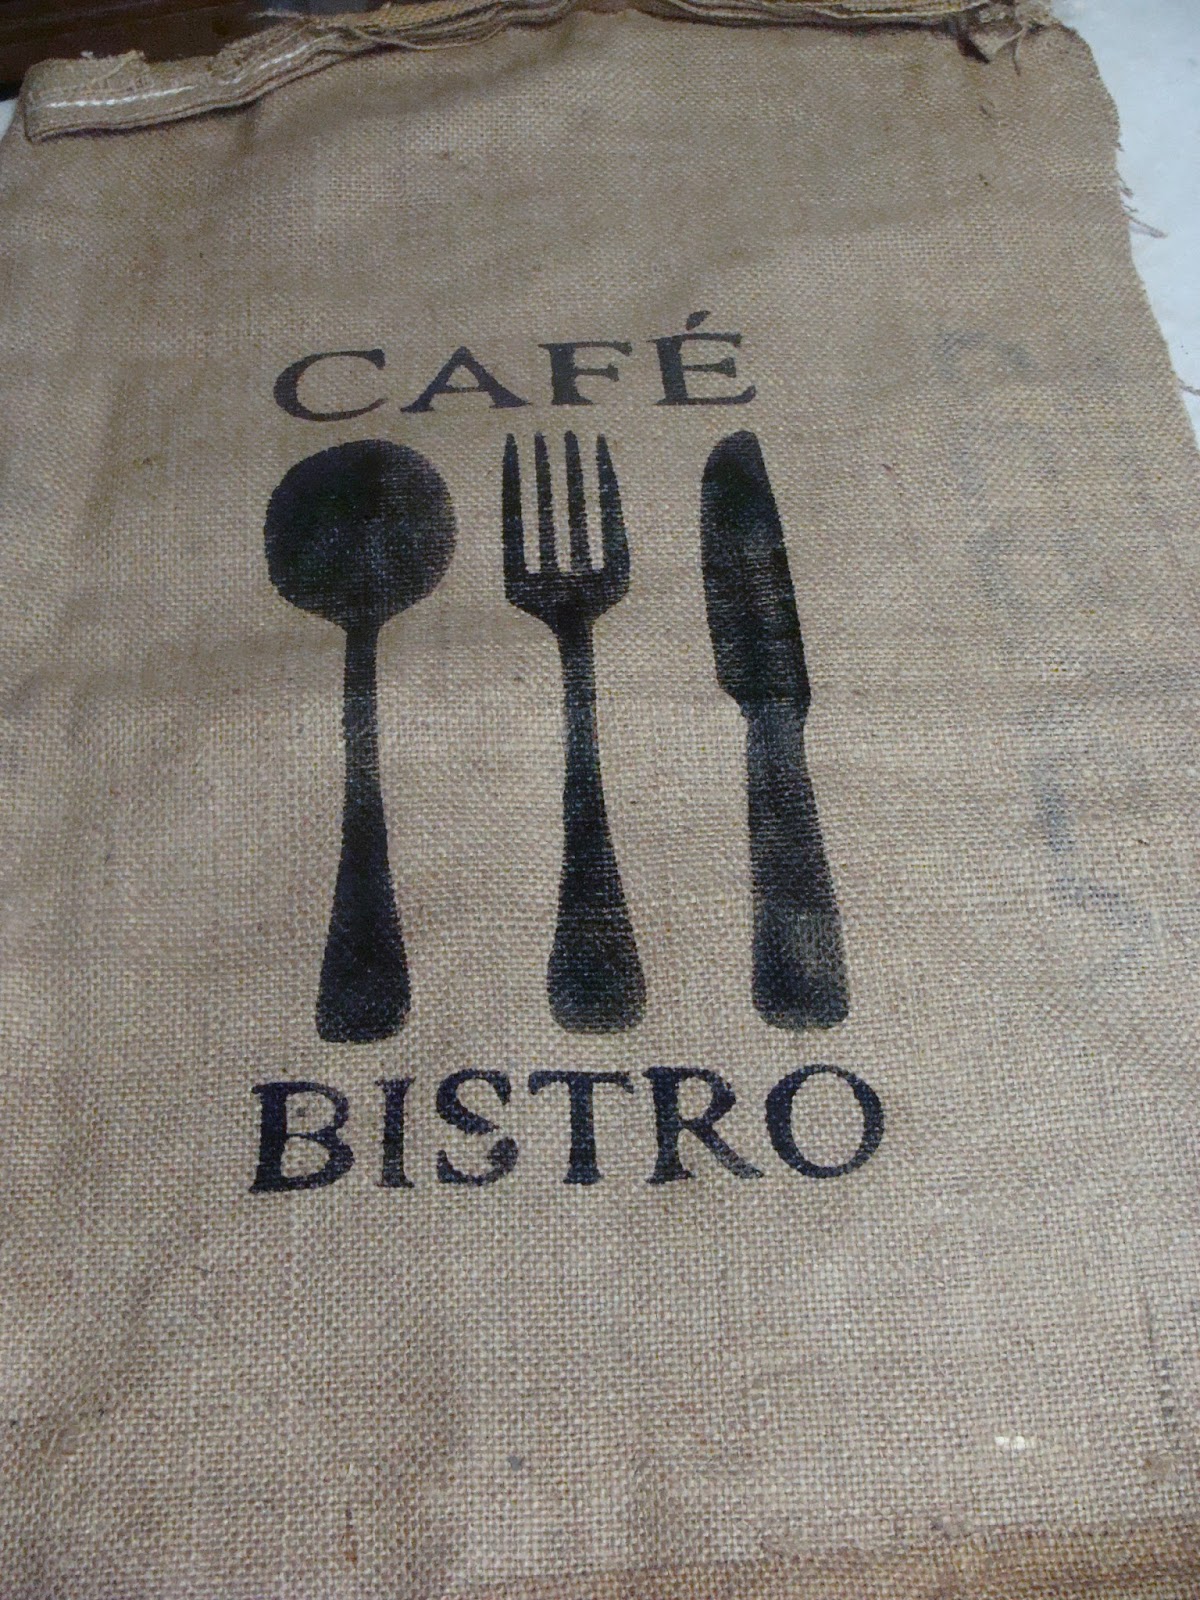
How To: Stenciling Burlap with chalk paint , freezer paper and Silhouette Cameo

If you have been following my post lately you know that I have managed to get a stash of burlap.  You can read about the pillow project here.  Or the coffee burlap art here.
The main tools in this project are: Silhouette, computer, freezer paper, Iron, Glue gun, old canvas , Black paint or color of your choice, sharp scissors, ribbon or trim and blank burlap.

Choose a design for your signs , measure to make sure they fall on your canvas where you want.  These were 8x10 inches so my design was roughly 6 x 8 inches.  You can use the grid in the Silhouette software and if you are using a Cricut it has the same feature with their online program.  Note to Cricut users if you have not set up your cricut on line software account you may want to.  If will make projects like this so much easier.   If you decide to use a printer you can set your page size to 8x14 and get the dimensions you need.  cut your freezer paper to 8.5 x 14 to feed into the printer.  Note make sure you print on the non shiny side of the freezer paper.  This way your image will not smear because the wax will not soak up the ink and your image will not be backwards.  Cut your images out of your paper using craft knife or scissors.
Once you have your design cut out iron it onto your burlap.  The more texture your burlap has the longer you need to take to press.  I used a little 1950's GE travel iron for this Job and it was set on the lowest cotton setting no steam. 

 Iron slowly giving the wax time to adhere to the textured burlap.  Once you see that the wax paper is adhered with out gaps on the edges you are ready to stencil.  I used what ever black I had since this was hanging on the wall and not going to be washed or worn.  Note that you will need to load your stencil brush heavier than normal to get good color .  I started in the center of my cut out area and worked my way to the edges.  


When the paint dries and is no longer tacky peel off the paper. Note if you peel the paper while it is wet you risk smudging paint where you do not want it. I did not press or heat set this because it is going to hang on the wall.  
Mounting the burlap to the re cycled canvas is a tricky step simply because the burlap will stretch.  I used clamps to hold it in place after I centered it.


Glue one edge top or bottom does not matter...then glue the opposite edge pulling slightly taught.  Make sure to check the front to make sure you are not getting the design out
 of whack.  Then go side to side checking regularly.
In order to cut the bulk out of the corner I cut a flap on the top and pulled it taught and glued it to the side.


 I then mitered the corners in the back.  
I trimmed the fabric on the edges and applied ribbon to cover the raw edges.

All finished..

I hope this has inspired you!  
Sheryl

Sharing at:


Sunday, December 15, 2013

Christmas In a Pickle Jar diorama


Yep we are having a pickle Jar Christmas here at RTI.  This is a so cheap easy project.  You will need of course some recycled pickle jars.  I used large pickle jars that I picked up at a church yard sale for cheap.  You will need fake snow (also a thrift found item), loctite GO2 Glue all purpose dries clear (or your super glue of choice), up cycled vintage Christmas ornaments and

stash of fake trees .  All four of those totes are stuffed and we will not mention whats in the woman cave.

It is not shown in the photo but I spray painted the lids.  Sky is the limit on color choices go wild!

Make sure that the bottom inside of your jars are clean and free of dust, oil ..ect...so that your glue will get the best adhesion.  Glue in your trees and figures and let them set. Note to self :walk away do something else give the glue what ever drying time it needs  stop touching......
After the glue sets up sprinkle in enough snow to cover the bottom and put the lid on. You are almost done...now you just have to find the perfect place to enjoy!


Merry Christmas from the Connolly house to yours!
Sheryl


Sharing at:


Dwellings-The Heart of Your Home
Sew-Many_Ways anielynn.com">By Stephanie Lynn
Chic on a Shoestring Decorating

Wednesday, November 20, 2013

Tattered Christmas Stockings Vintage Quilt re purpose


I had a few old "cutter Quilts " laying around for a while.  They were wonderfully tattered and aged. 

 I decided to make tattered stockings from them.  I had made a few a few years back and offered them in my booth and they did pretty good.  So...why not..
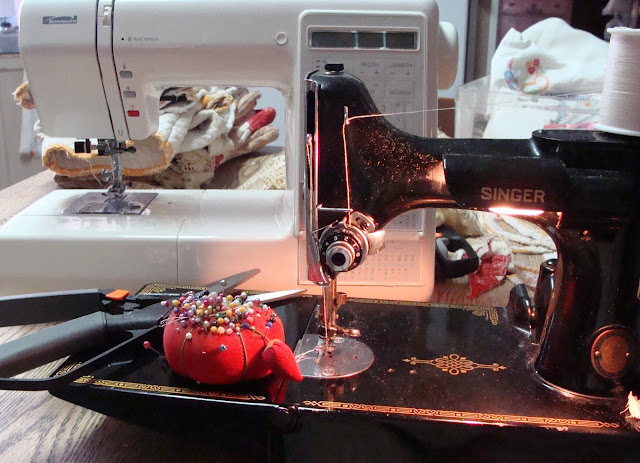
I did drag out the feather weight (you can read about her here) for the first half of this job.


This machine makes the neatest consistent stitches and will practically sew through almost anything.
After cutting my desired stocking shape, and a rustic one at that, I put the front and back to together and clipped off the heavy seams and the curves.


On some of the stockings I used the finished edge of the quilt as the top so I did not have to hem them just add the hang loop.
On the stockings that were cut from the tattered edge and from the center of the quilt I wanted to put a hem on them.  This is where Old classic meets new inovation.

I resorted to the Kenmore 150 stitch electronic machine.  What I love about this machine if of course the drop arm and auto tension.  I will admit that it took me a while to "feel" when the tension was adjusted correct on the Singer.

I used the drop arm to stitch the top hem and add the loops.  Being able to slide the cuff on to the bed of the machine took a lot of effort and time out of the project.  
My favorite ones are the stockings that I folded over the tattered edge making a instant tatty fringe.

The pink floral design also turned out wonderfully shabby!

I hope that you find time to create it is therapeutic!
Thank you for stopping By!
Sheryl
SOLD
Sharing with:


Savy Southern Style Wow us Wed. #145


Chic on a Shoestring Decorating
From The Farm Blog Hop

Dwellings-The Heart of Your Home