About a year ago I posted a very short tutorial on converting old frames to pin boards with chicken wire and paint. You can read about it here.
On my own board I realized that clothes pins scattered all over it or in bags was just not a pretty way to store them.
..So back to the burlap stash...
..So back to the burlap stash...
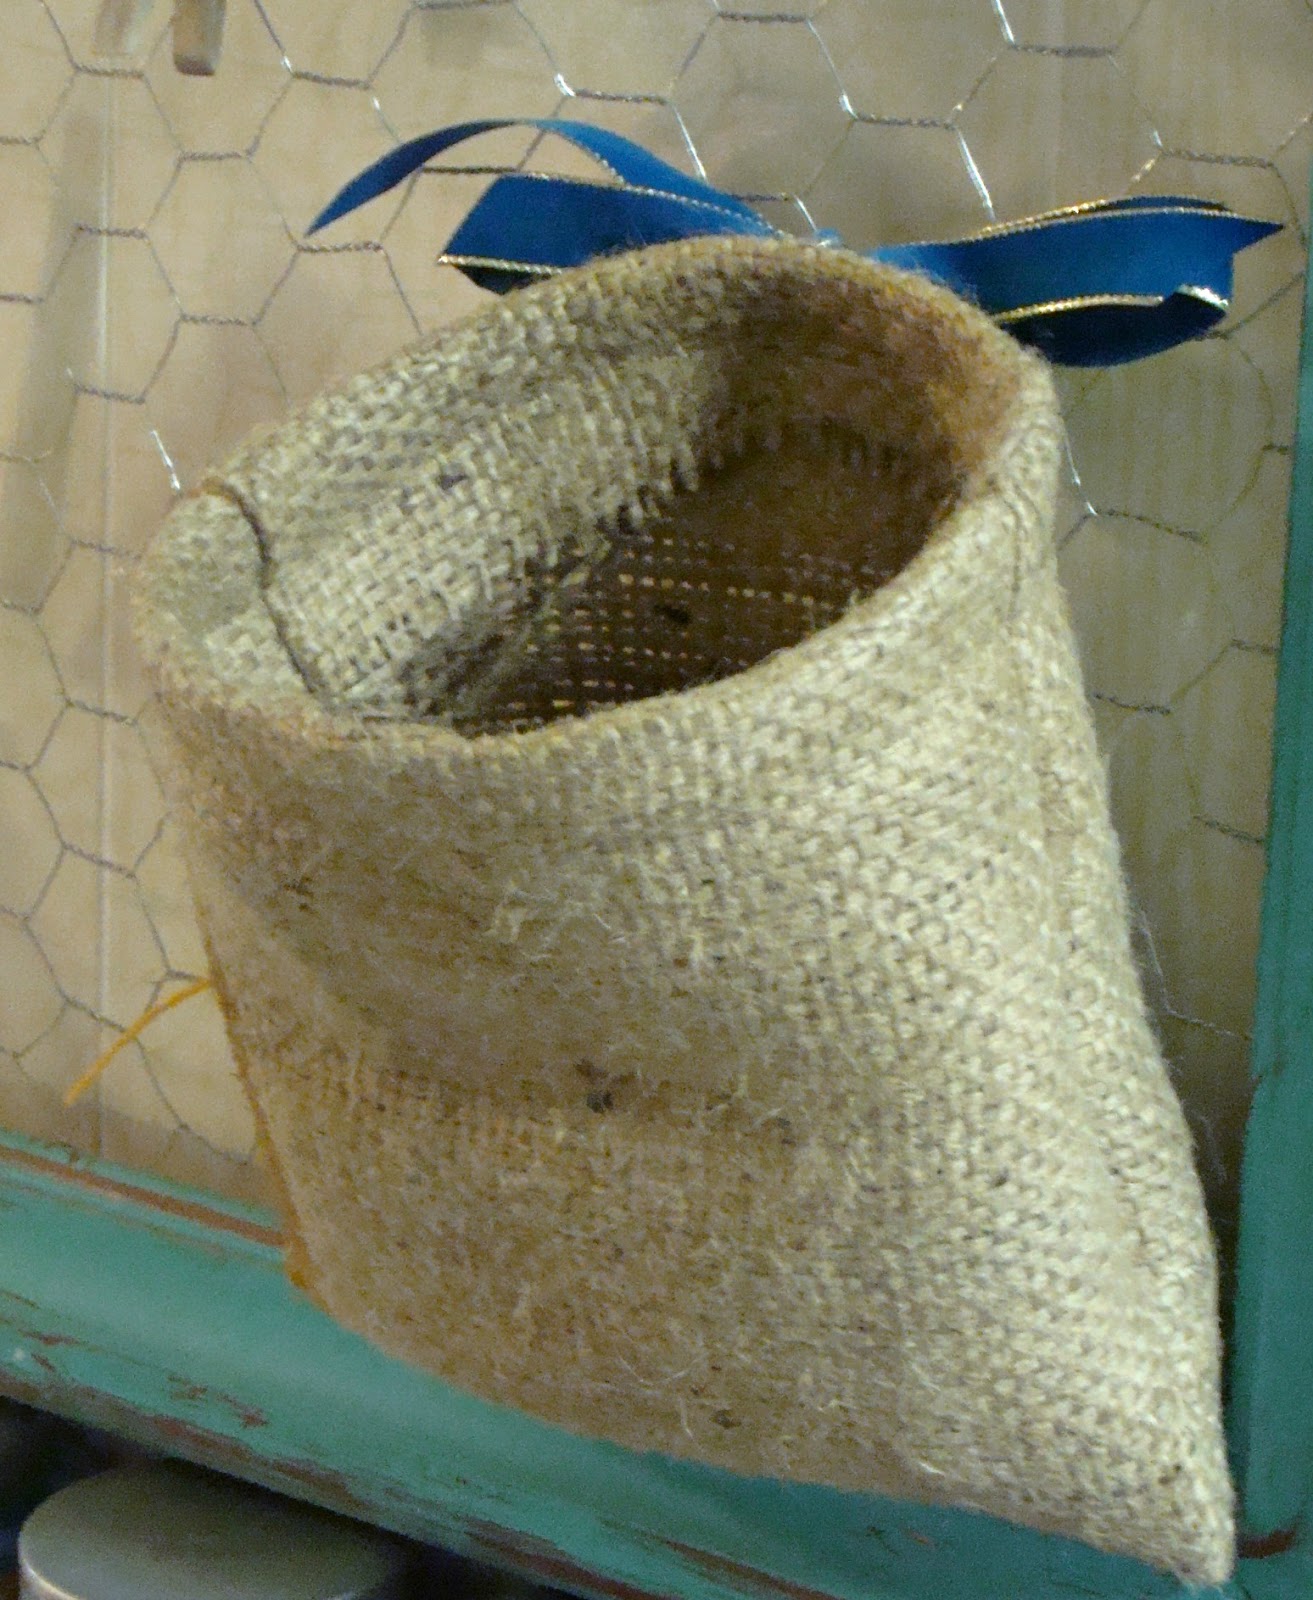
and this is what I came up with.
A Little burlap "cup" to hold your clothes pins....Here is how I did it:
I have been keeping the nylon lashing tape that comes wrapped around boxes of supplies we receive. It is sturdy sorta like industrial boning. Also you will need a "craft" stapler. A stapler that will penetrate the strapping.
One you establish how big a opening you want staple several layers of strapping together in a circle. I just wrap on continuous piece and stagger stapling all around it..with the back of the staple on the inside...
Next cut fabric that is wide enough to go over half way around your circle with a one inch seam allowance....and long enough that when doubled you have the desired bag depth with a 2 inch seam allowance.
Once you have your material and "boning" prepared choose ribbon of your choice and get your machine ready to stitch burlap. You will need a heavy duty needle specifically for woven fabric (I recommend marking this needle and using it only on burlap especially if you are using coffee bag "raw" burlap.)
Set your stitch count to around 28-30 per inch to prevent unravelling. Note the dust on my machine! I never use raw burlap on my electronic machine! It is messy and dusty! If your only choice is a electronic newer machine then make sure that you take extra time in cleaning it. I have a small shop vac with electronic attachments on hand..never use canned air .... to get even the fine particles out. I choose machine quilting thread for its strength and because this 1937 singer 15-91 loves it! If your machine sews with a strong poly or cotton then use it.
Wrap your fabric around your boning and mark your seam allowance with a pin...
Stitch you sides ... Then insert your boning leaving enough seam allowance to fold fabric down inside the cup . Make sure you have ample seam allowance beyond the boning on the inside...
Pin it in place....Note making sure that the heads of your pins are facing you to make it easier to remove as you sew.
I use the standard foot that came with this machine. The toe on the right is smaller and will allow me to get close to the boning. A zipper foot will do a nice job as well. I also have a stiletto on hand to prevent that little toe from getting caught up in the weave. A large doll needle ...crochet hook or small knitting needle will also work.
Slide your edge under your machine foot, you may have to use the lever to lift it ...Set your foot against the boning, your needle will not survive trying to sew on top of it. Stitch around the edge of that boning. Making sure to back stitch 1/4 of a inch at the start and end to lock your stitch.
Almost there!
There are two options for attaching your ribbon. A) you can pin in and as you put your hem in you can attach it. Or B) you can pin in on after the hem is put in and attach. I chose B ..it cuts down on the number of pins to deal with and I am concentrating on not jumping on to the boning, instead of where the tails to my ribbon are...
Once your ribbon is attached tie it on to your board.
While I had the burlap out and was already itching....I took the same technique and made a scrap bag to hang on my machine cabinet. The difference is, it was made large enough to line with a twist tie storage bag...To make emptying easier....
I hope that you have found some inspiration from this share .
Sheryl
Sharing with:
http://www.findingsilverpennies.com/2014/08/silver-pennies-sundays-link-party-features-79.html
http://sewmanyways.blogspot.com/2014/08/sew-darn-crafty-linky-party.html
http://www.sewcando.com/2014/08/come-join-craftastic-monday-link-party.html
http://www.bystephanielynn.com/2014/08/sunday-showcase-254.html
http://anextraordinaryday.net/craft-room-makeover-project-inspired-link-party-78/
http://threemangoseeds.blogspot.com/2014/08/its-party-time-8214.html
http://my1929charmer.com/sunday/?utm_source=feedburner&utm_medium=email&utm_campaign=Feed%3A+My1929CharmerBlog+%28My+1929+Charmer%29
http://theinspiredwren.blogspot.com/2014/08/inspire-us-thursday-august-7.html
http://bacontimewiththehungryhypo.blogspot.com/2014/08/anything-goes-linky-166-and-features.html
http://chiconashoestringdecorating.blogspot.com/2014/08/flaunt-it-friday-218.htm
http://www.funkyjunkinteriors.net/2014/08/pj-251-upcycled-link-party.html
http://piecedpastimes.blogspot.com/2014/08/saturday-sparks-link-party-75.html
http://piecedpastimes.blogspot.com/2014/08/saturday-sparks-link-party-76.html


