I have made a drop cloth pillow in the past that really turned out well. You can read about it here Drop Cloth Pillow.
This project is a little more personalized and makes fun Decor.
For this Project here are the tools that you will need:
Iron and Ruler

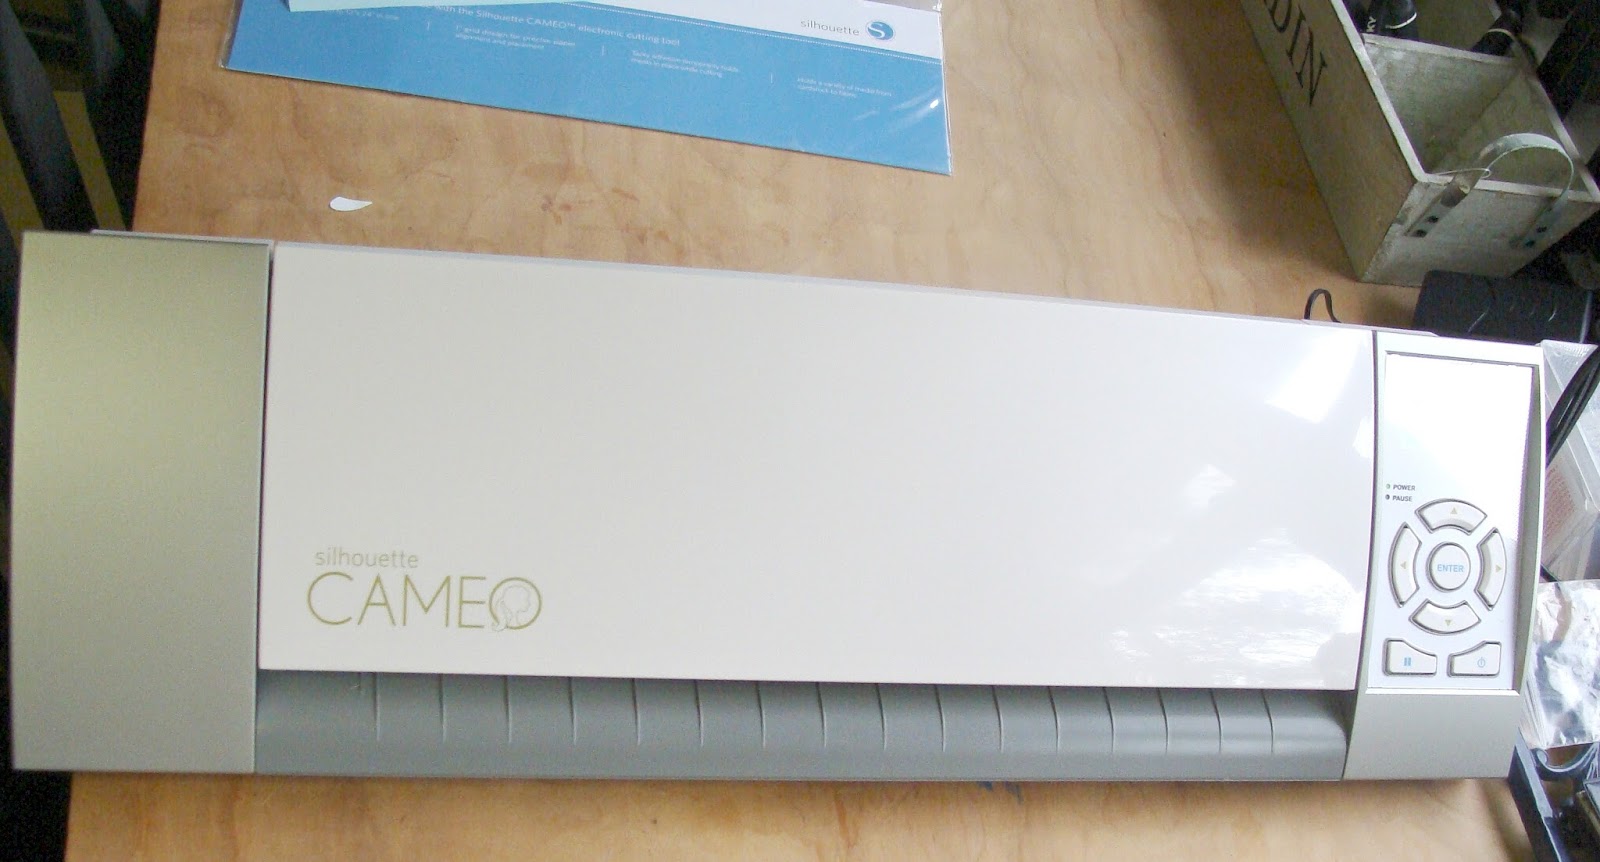
Die Cutting Machine with mat and scraper

Paint and (if you want) fabric medium and sponge or stencil brush. I used Annie Sloan Graphite and Martha Stewart fabric medium. ..stored in a mustard jar.

It helps if your machine is hooked to a computer

Sewing Machine

Pillow Forms and Washed drop cloth


Freezer Paper
This is a simple technique that you can make look fantastic and the sky is the limit.
The materials are all ready available at the craft store or grocery store.
The first thing that I did was determine how large a cover I wanted and what type. I chose a envelope cover. (one with the overlapping opening in the back for easy removal). I chose this design because I am too lazy,cheap and challenged to put in a hidden zipper You measure the width of your insert . Measure from seam to seam. Then I added roughly an inch to allow for my seam allowance on the left and right side. and then added 6 inches to the top to bottom measurement to allow for fold over on the back of the pillow.
Here is a quick note on finishing drop cloth. This fabric unravels. I made these with the ease of removing and washing them so I finished all of the edges with a hem...
Using the Iron I pressed in a rolled hem..


Then took it to the machine..

I Love the rustic stitching on the edge of drop cloth and if it were a nice tight stitch I left it rustic.also this is a great hem to show on your back opening....
Once you have established the size you want for your cover it is time to press it. used a hot setting and steam to get the pre-washed drop cloth as smooth as possible. Hint..This is a good time to line up the side seams in the fashion that you are going to sew them and press folds on the top and bottom edge. This will help you determine where to place the design. Make sure you are putting it on the right side of the fabric so that your desired hem is showing on the back.
I strongly recommend you used the software provided and use your computer to make your designs.
If you are using a Cricut you can load all of your cartridges to the (here is the link) "craft Room" and design on your lap top..so much better than on a tiny screen. If you have an Silhouette then you are all ready using a computer...However if not here is a link to get you started: Silhouette America.
I used the Silhouette for this project.
You can make most fonts stencils using the knife tool in this software. If you have a Silhouette and are having problems with the cutting tool and erase tool call customer service to get the add on to your software to make this correction.(I had to) They are very nice and helpful and will walk you through it.
I used a stencil design that I found on line. Opened it in the software , traced the cutting area and tweaked the bypass filter to make sure that I got solid letters. Now that I have you lost I will admit it took some trial and error and a few YouTube videos to figure this out...Go Grasshopper and Learn...I have really started to enjoy my machine now that I have taken the time to Learn to use it.
After you have your design it is time to get your mat ready .
I used a mat that has been used a lot and is not as tacky as a new mat.
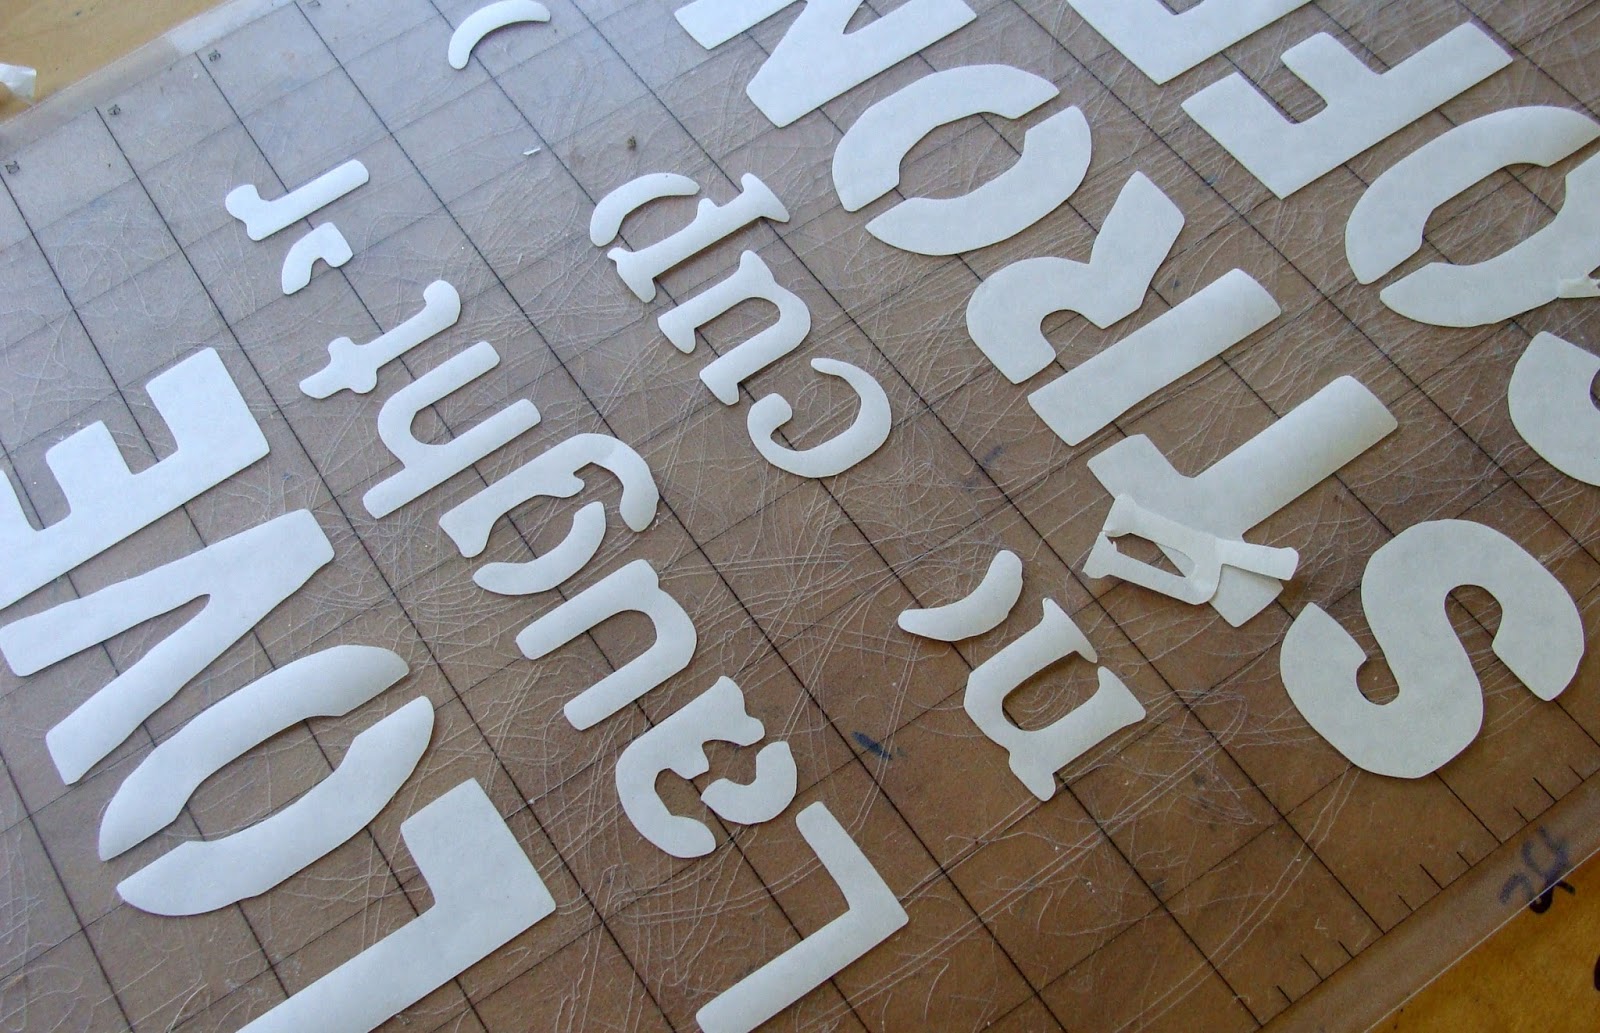
If you are using an older mat then you can put your Freezer paper shiny side down.
and if your mat has seen tackier days I recommend running a little scotch tape on the edge to help hold it.

If you are using a new mat or a cricut mat that is still pretty tacky then mirror the image so your design cuts backwards and put the shiny side up on your mat to make it easier to peel.
And Do not panic if a glitch happens...like this.....(due to old mat)

You are working with very forgiving material.....Just cut it to make the correction . I also had the center of a letter "O" fall out of the stencil I just positioned it where I needed it and ironed it down on the fabric.

I set my iron on the highest setting with no steam. Once you have your design positioned on the fabric where you need it, (shiny side down) drop the iron down on the center working your way out. Do not try to glide your iron back and forth like you normally iron , you may catch the edge of your design and pull it up. Once I have tacked it all down then I will glide my iron slowly on the paper giving it all a chance to adhere.

Stencil let dry then peel your paper off....Iron again to heat set....and sew up the sides with right sides together. Mental note make sure you have the seam edge on the bottom that you want to show once you turn your project. ...Insert your pillow form and Walla!
SOLD

SOLD

SOLD
I do hope that this wordy post has inspired you to get that die cutting machine out and have fun...
Sheryl
Sharing with: